Importance of Cleaning a Loofah
Why Clean Your Loofah?
Loofahs are a popular choice for exfoliating during showers, providing a thorough clean while promoting skin health. However, they can also harbor bacteria, mold, and mildew if not properly cared for. Therefore, understanding how to clean a loofah is crucial for maintaining a healthy hygiene routine. A well-maintained loofah not only provides a more effective clean but also extends its lifespan, making it a worthwhile investment in your self-care practices.
Health Risks of a Dirty Loofah
A dirty loofah can introduce harmful bacteria to your skin, leading to various skin conditions, such as rashes, irritations, or infections. Pseudomonas aeruginosa, a bacterium that can thrive in moist environments, is one such potentially harmful organism often found in contaminated loofahs. When these germs come into contact with open skin or wounds, they can lead to inflammation and even more severe health issues. Thus, routine cleaning habits are essential for your overall health.
Environmental Considerations for Loofah Care
Using natural loofahs, which are derived from the fibrous skeleton of the luffa gourd, offers a biodegradable alternative to synthetic sponges. However, their environmental impact becomes significant when they are not properly disposed of after their useful life. Regular cleaning practices not only prolong the life of your loofah but align with eco-friendly principles, reducing waste and promoting sustainability. Mindful care ensures that these natural products are used effectively, respecting the environment while enhancing your bathing experience.
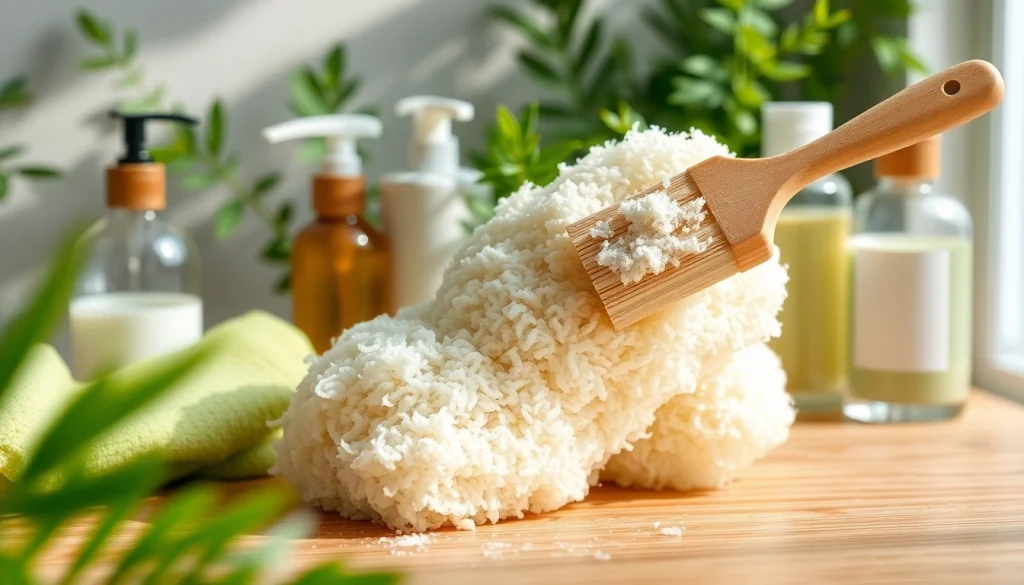
How to Clean a Loofah Naturally
Materials Needed for Cleaning
To clean a loofah effectively, you need a few natural cleaning materials that are gentle yet effective. The following items will be useful:
- Hot water
- White vinegar
- Baking soda
- Essential oils (optional)
- A clean bowl or sink for soaking
Step-by-Step Cleaning Process
Cleaning your loofah at home is simple and can be broken down into a few easy steps:
- Soaking: Begin by filling a bowl or sink with hot water. Add a cup of white vinegar and a couple of tablespoons of baking soda. This powerful combination will help neutralize odors and kill bacteria. Submerge your loofah in the solution and allow it to soak for at least 10-15 minutes.
- Rinsing: After soaking, remove the loofah from the solution and rinse it thoroughly under running water. Make sure to squeeze it gently to remove any dissolved debris that may have accumulated. This step is crucial for ensuring that no residue remains after cleaning.
- Drying: Once rinsed, gently squeeze out excess water and lay the loofah flat on a clean, dry towel. Avoid hanging it directly in a damp area; instead, place it in a well-ventilated space to air dry completely.
Drying Properly After Cleaning
Proper drying is essential in preventing the growth of mold and bacteria. Always ensure that your loofah is placed in a dry, airy location away from moisture. A well-ventilated area promotes quicker drying times, keeping your loofah free from unwanted germs. You may also rotate your loofah occasionally during the drying process to ensure all parts are exposed to air.
Maintaining Your Loofah for Longevity
Best Practices for Storage
Storing your loofah correctly can minimize bacterial growth and extend its life. After it has dried completely, store it in a dry, open area. Avoid enclosed storage spaces such as shower caddies or closed containers that can trap moisture. Opt for a hanging storage option that provides good air circulation. Additionally, ensure that your loofah is not in direct contact with other damp items, which can negate your cleaning efforts.
How Often to Clean a Loofah
Frequency of cleaning depends on how often you use your loofah. As a general rule, aim to clean your loofah at least once a week. If you use it daily or notice any foul smells, consider cleaning it more frequently. It’s also recommended to replace your loofah every few months, as wear and tear can lead to reduced efficacy and potential health risks.
Choosing the Right Type of Loofah
Selecting the right loofah can make a significant difference in your bathing experience. Natural loofahs provide excellent exfoliation and are biodegradable, while synthetic loofahs may be more durable but can harbor bacteria more easily if not cleaned properly. Consider factors like your skin type and sensitivity when making a choice. If you have delicate skin, opting for softer, natural fibers can enhance your cleaning routine without irritation.
DIY Alternatives to Commercial Products
Natural Cleaning Solutions
For those looking to steer clear of commercial cleaning products, several natural solutions can effectively clean loofahs. Baking soda and vinegar are excellent choices due to their natural cleaning and deodorizing properties. Lemon juice and tea tree oil also serve as good alternatives due to their antibacterial qualities. Mixing these ingredients creates mild yet effective natural cleaners that are safe for both your skin and the environment.
Essential Oils and Their Benefits
Essential oils not only add delightful scents but also offer various health benefits. Oils such as tea tree, lavender, and peppermint have innate antibacterial properties that aid in keeping your loofah fresh and free of bacteria. Adding a few drops of your chosen essential oil to your cleaning solution can enhance its effectiveness, leaving your loofah smelling fresh while providing a soothing aromatherapy experience during your bathing routine.
Homemade Recipes for Loofah Care
Creating homemade cleaning solutions is an easy and cost-effective way to care for your loofah. Here is a simple recipe:
- 1 cup of white vinegar
- 1 tablespoon of baking soda
- 10 drops of tea tree oil
Mix these ingredients in a bowl. Submerge your loofah as previously outlined in the cleaning process. This mixture effectively cleanses while imparting antibacterial properties, ensuring that your loofah remains a healthful part of your routine.
FAQs About Cleaning a Loofah
How can I tell if my loofah is clean?
A clean loofah should feel fresh and smell pleasant. If it has an unpleasant odor or visible mold, it requires cleaning. After cleaning, ensure it dries completely to prevent contamination.
Can I disinfect my loofah in the microwave?
Yes, you can microwave a damp loofah for about 1 minute to disinfect it. Ensure it is moistened first to avoid fire hazards. However, this should be part of a regular cleaning routine, not a standalone method.
How should I store my loofah after cleaning?
After cleaning, dry your loofah thoroughly and store it in a well-ventilated area. Avoid closed spaces to prevent moisture build-up, which can lead to bacterial growth.
Are synthetic loofahs harder to clean?
Synthetic loofahs can retain moisture and bacteria more than natural ones, making them potentially harder to clean. Proper and regular maintenance is crucial for both types to ensure hygiene.
What’s the lifespan of a loofah?
A well-maintained natural loofah can last about 2 to 3 months, while synthetic versions may last longer but can collect more bacteria. It’s best to replace them when they show wear and tear.